Soft Olive Rolls

Soft Olive Rolls

Years ago I was on a bike ride on the rural outskirts of town.  I shared a long, deep gaze with a cow, placidly grazing in pasture. Suddenly eating that animal’s meat just seemed wrong. And I became, for several years, a highly questionable vegetarian.  My family was appalled, including my mom. But I was undeterred, dragging them all along, at least for the meals served at home. I collected many a vegetarian cookbook. Most of them were filled with recipes utilizing eggs and fatty dairy products, cheese being the star, of course. And I mustn’t forget the pasta…these books contained terrific recipes using all the food items that made me a highly questionable vegetarian eater. Actual vegetables were an afterthought, at best. 

But there was one book that exemplified the vegetarian eater that one should be. Filled with low fat recipes starring whole grains, beans, seeds, nuts and vegetables, it sat on the shelf collecting a patina of dust. Only a bit, for every now and again I’d take it off the shelf and read it, to remind me of what my meal plans should look like. It was actually a great read, very inspiring and entertaining. Yes, it was the granddaddy book of healthy vegetarian eating, Laurel’s Kitchen. Still revered as a classic by many today. The original was part nutrition textbook, part recipe book, and part Berkeley-style hippie commune life philosophy. If only I had wanted to eat this food! Which at the time, I did not…

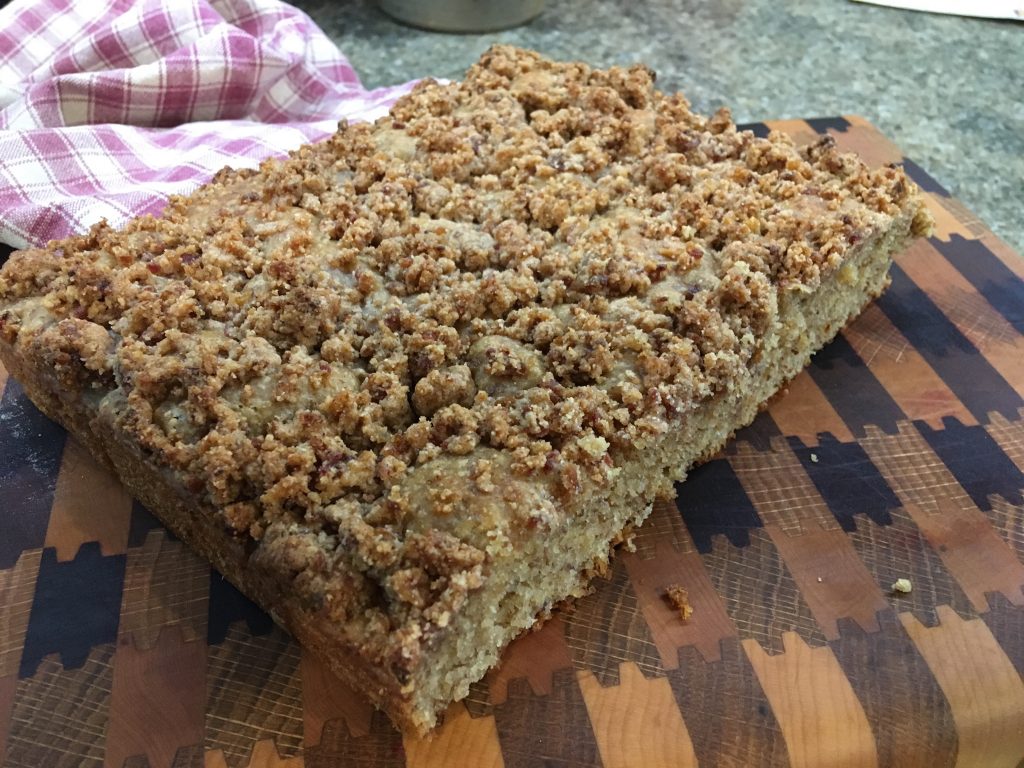
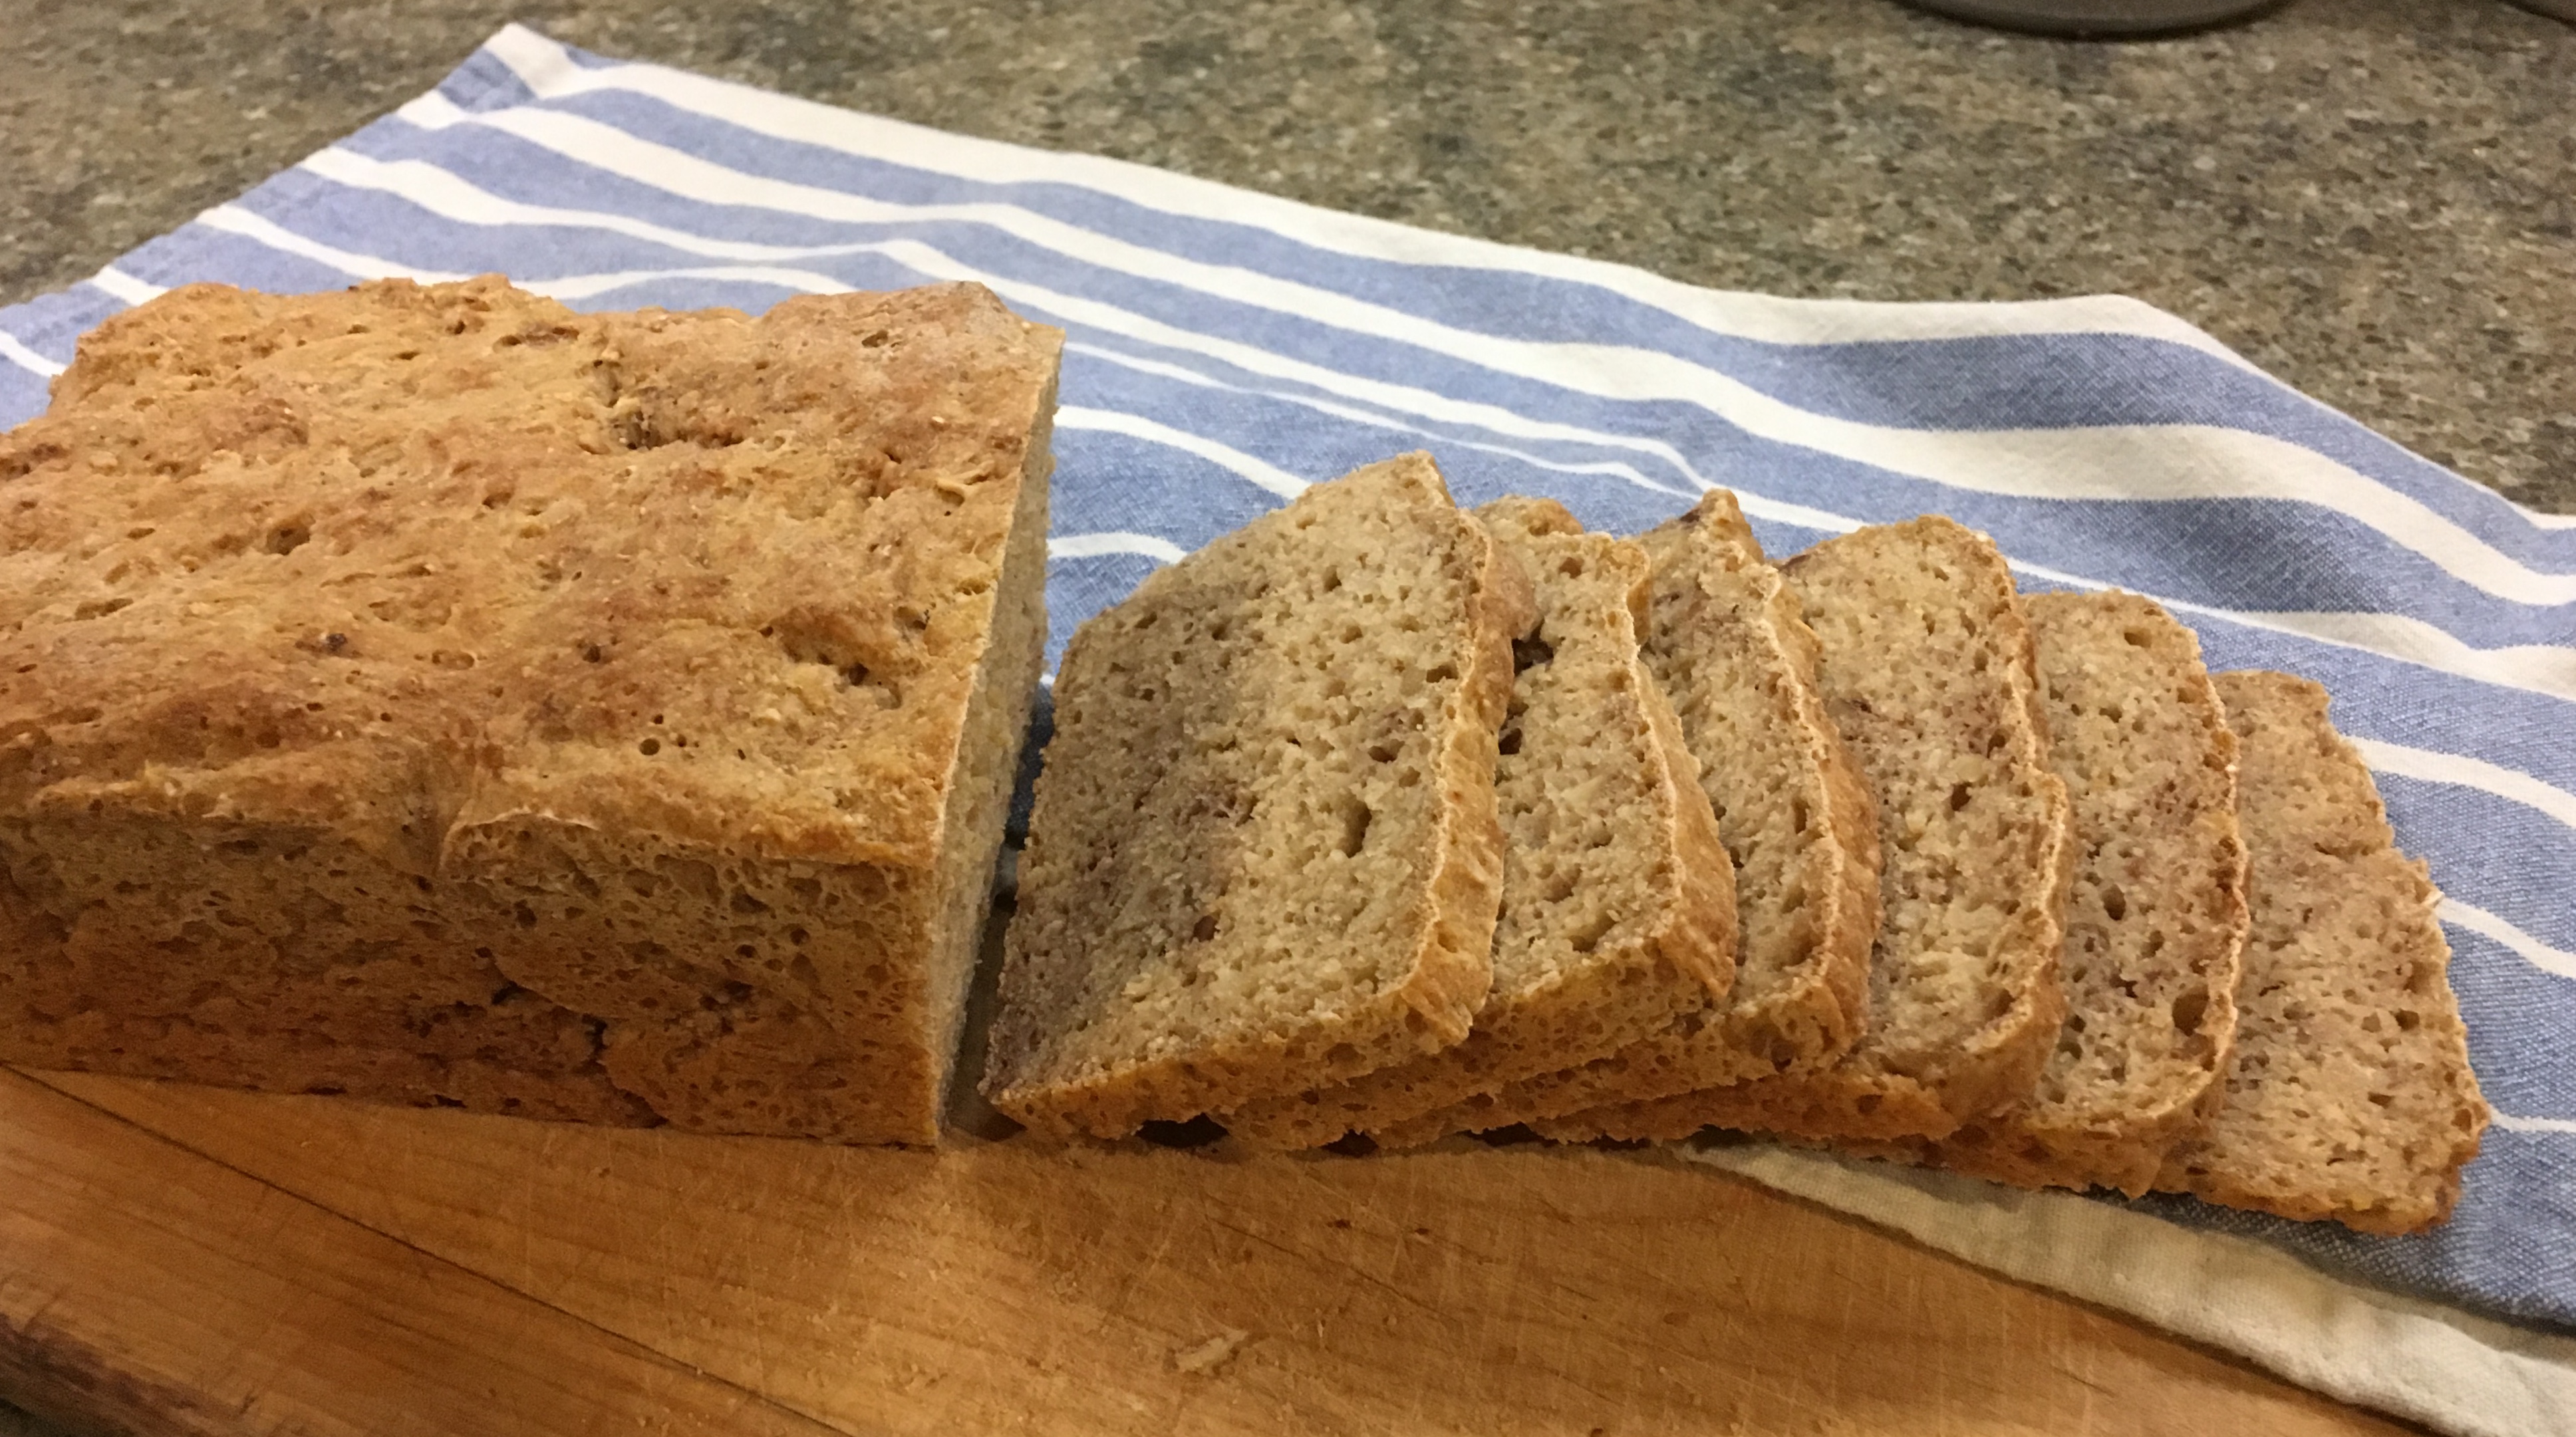
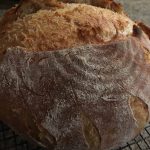
Fast forward many years, and I now have the New Laurel’s Kitchen on my shelf. Amazingly I find myself using it as more than a good read. I’m actually cooking out of it. Like many plant based recipes, I find they need some tweaking, but the bread recipes in particular are quite good. The authors firmly believed that real whole grain bread and grains along with legumes should be the foundation of a plant based diet. I agree. Many people seem to think of their fondness for bread as an Achilles heel, a weakness to be overcome. Not so in this house! Whole grain sourdough bread is a mainstay, along with other whole grain home baked goods. Loaves are sliced and frozen, so that we just pull out the number of desired slices for a given meal. Whole grain bread is a deliciously nourishing and filling part of our meals, providing both protein and fiber. 

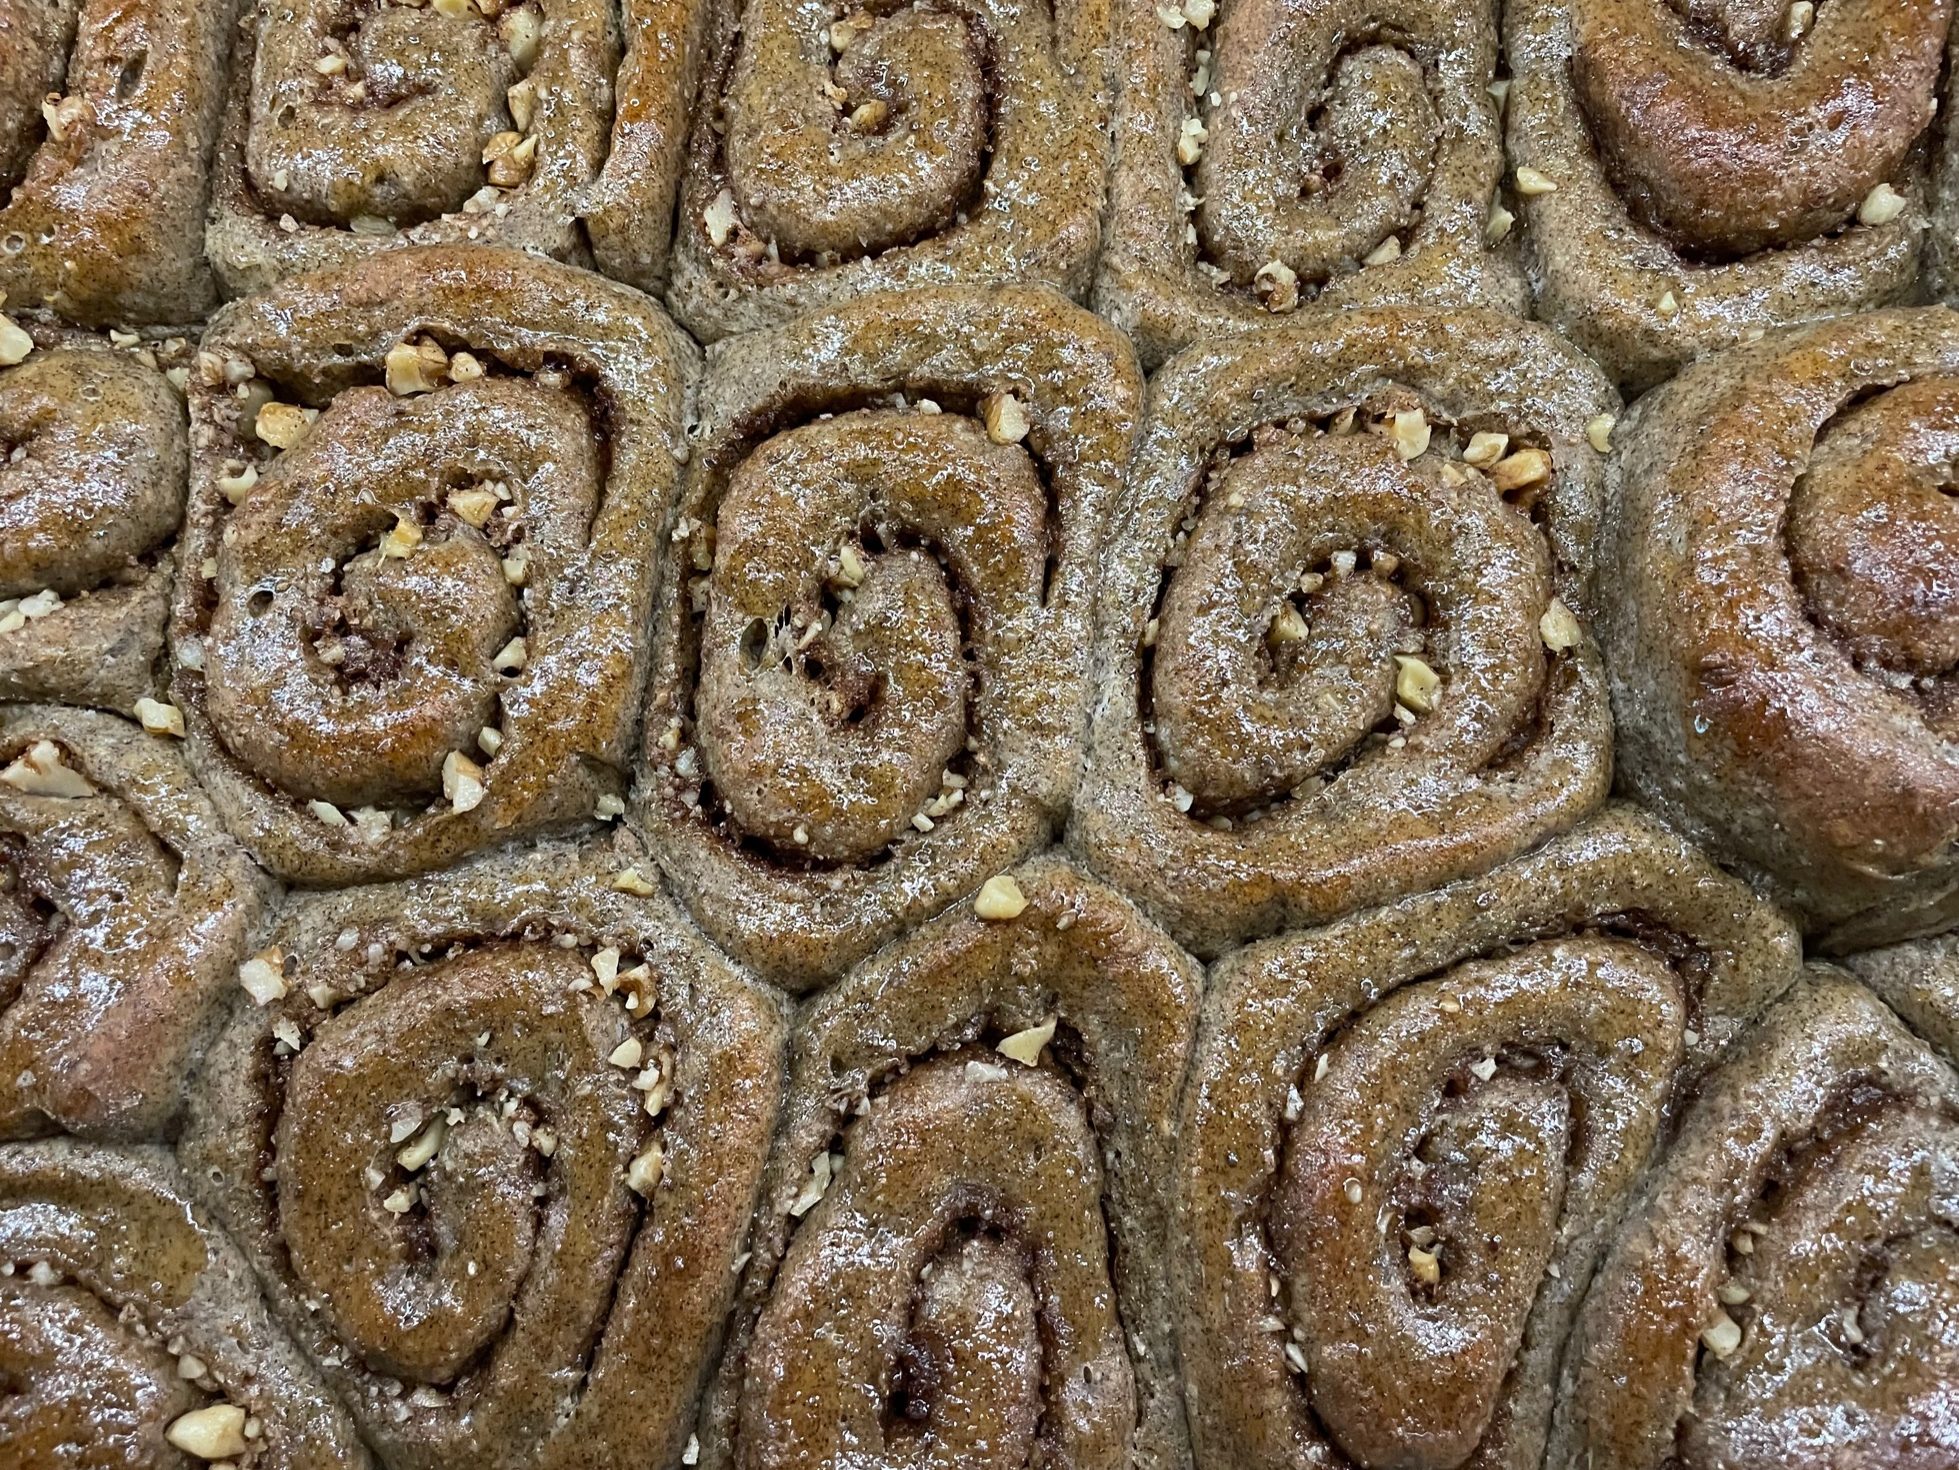
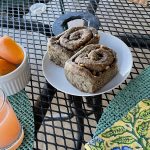
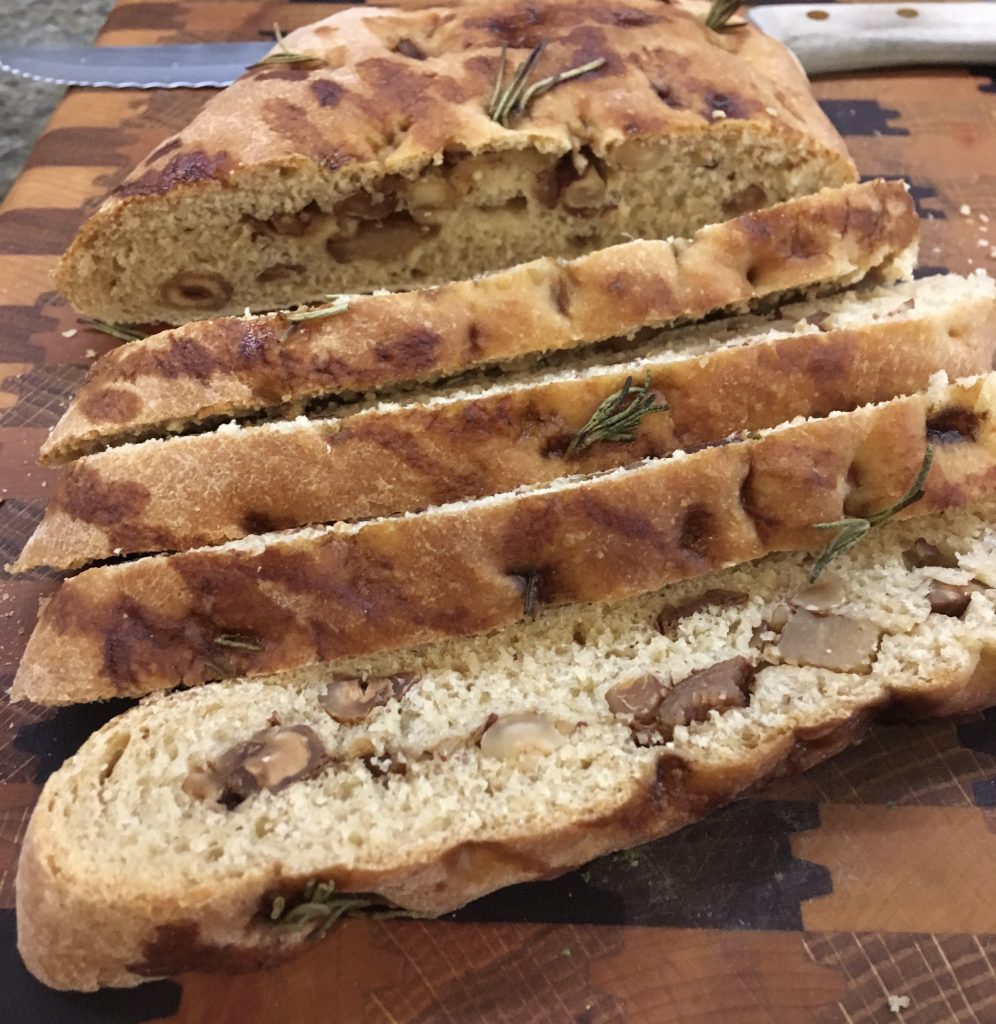
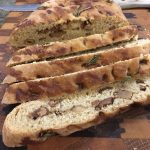
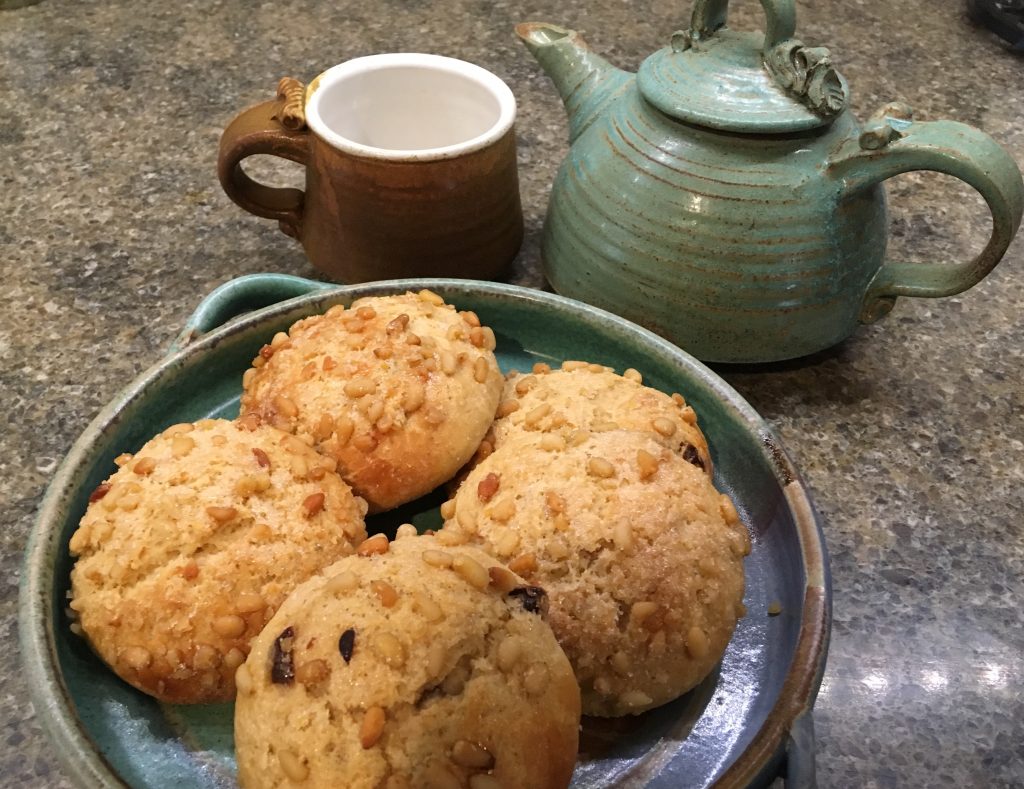
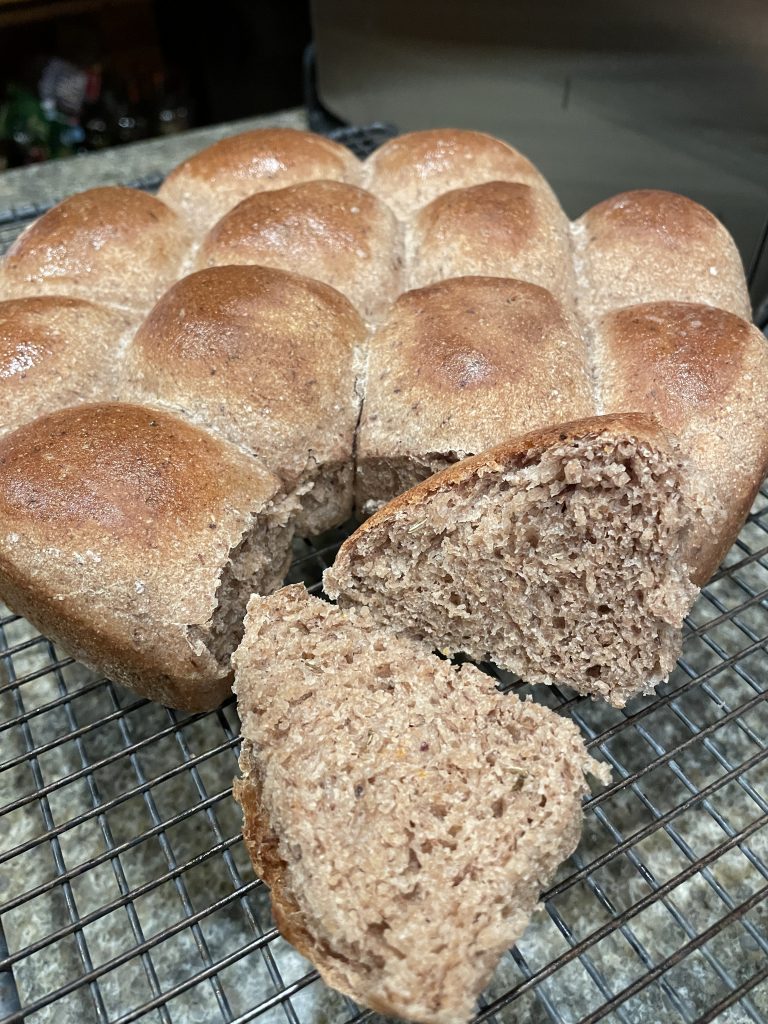
The soft olive rolls I’m making today are an adaptation of the Buttermilk Bread from the New Laurel’s Kitchen. I add olive paste, orange zest and fennel seed, for a light and tender roll with the flavors of the Mediterranean. I also substitute kefir for buttermilk, as it is more reliably available, and lasts longer in the fridge than buttermilk. These rolls are terrific accompaniments to soups and salads, and I frequently have them available in the freezer for a last minute meal addition. I’m thinking they might be a tasty base for a summer grilled vegetable slider, so stay tuned…

There have been no more up close and personal encounters with cattle, but we have driven by many a CAFO in the middle-of-nowhere, Arizona. So, these days, I’m more of what is known as a flexitarian. There are a few days when meat, fish and dairy products are part of the menu, but seldom beef, at least for me. Ironically I’m probably a much healthier eater than I ever was as a vegetarian. Go figure.

Soft Olive Rolls

Light and tender roll with the flavors of the Mediterranean-olives, orange and fennel.
Prep Time3 hours
Cook Time25 minutes
Total Time3 hours 25 minutes
Course: Bread, Side Dish
Keyword: rolls
Servings: 12

Ingredients

  • 1 tsp active dry yeast
  • 3/4 cup very warm water
  • 1/2 cup kefir, plus 1 Tbsp
  • 1 tbsp sugar
  • 1/4 tsp salt
  • 3 tbsp Kalamata olive spread
  • 1 tsp orange zest
  • 1 tsp fennel seed
  • 1 cup bread flour
  • 1 1/2 cups white whole wheat flour
  • butter, optional

Instructions

  • In large mixing bowl, activate the yeast in the warm water. Allow to set until bubbles form. Add the kefir, sugar, salt, olive spread, zest and fennel seed. Mix well. Stir in the bread flour, then add white whole wheat to make a soft but firm dough. It may take less than the full amount.  Knead, by hand or mixer, for 5 minutes until sot and smooth. Place in a lightly greased bowl, cover and set aside in a warm place to rise, for 1-1/2 hours. 
  • Preheat the oven to 375 degrees F. Lightly grease or coat a 9-inch round cake pan with cooking spray. Cut the risen dough into 10 pieces, then round into balls by rolling under your cupped hand. Place the rolls evenly into the pan, and cover with a clean kitchen towel. Let the rolls rise until they touch and fill the pan, 45 minutes to 1 hour. Bake in the preheated oven for 20-25 minutes, until browned and baked through. If desired, brush the finished hot rolls with butter for shine. Remove from the pan and allow to cool slightly. Serve warm.  

Notes

  • Nutrition:
  • 106 calories
  • 1.2 g fat
  • 0 g cholesterol
  • 112 g sodium
  • 20.6 g carbohydrate
  • 1.9 g fiber
  • 2 g fiber
  • 3.6 G protein

Every Day Cinnamon Rolls

Every Day Buckwheat Cinnamon Rolls

We all know that the Pillsbury Doughboy was not particularly welcome in my mom’s farm kitchen…But you know, it was that whole Poppin’ Fresh thing that got to me. Something about cracking the cylinder on the counter’s edge, the roll dough springing out from its tight confinement. The dough, pre-portioned into rolls with their minute perforations. The pre-made icing in its own tiny cup! I am, of course, referring to cinnamon rolls in a tube, one of Big Food’s most ingenious inventions.

My grandmother was probably the one who sneaked the doughboy’s cinnamon rolls into her kitchen for me. (It was at times hard to believe that she was the mother of my nutrition minded mother!) It’s not like we could make a healthier homemade version either; we didn’t make them from scratch at home. TV commercials portrayed the perfect family sitting down to quick breakfast cinnamon rolls, as though rolls were required to make warm family memories. We certainly had great family breakfasts, just without cinnamon rolls. My kid’s cookbook had a quick cinnamon roll recipe using biscuit dough, rather than yeast dough, which I did make sometimes.  There were also whole wheat versions, but the whole wheat flour available at that time made one dense cinnamon roll!

I was an adult before it occurred to me that I could bake all the darn cinnamon rolls I wanted!  Real yeast-raised authentic cinnamon rolls. They were good, fluffy white dough with buttery, gooey cinnamon filling and a thin layer of icing.  Not great, just good. Not nearly as delicious as one might expect, actually. By the time giant, ooey-gooey cinnamon rolls had invaded the mall, wafting their warm scent of cinnamon right up one’s nose, the jig was up and I was finished. They were over the top. Because after all my childhood longings, cinnamon rolls never quite lived up to all the hype. What? Mom was right yet again? Yep-they were a little too doughy, a touch under baked, too gooey, too white bread and dare I say it? perhaps too sweet… it was hard to justify baking them. 

Sooo… a while back I began working on a cinnamon roll recipe with an improved nutrition profile whose consumption didn’t inspire guilt. It’s what I call the every day cinnamon roll, a roll that I can enjoy more often.  A cinnamon roll that while still fluffy has the taste and nutrition of whole grain flours. A cinnamon roll with less saturated fat, more fiber and protein. Let’s be clear: this is still a sweet roll, but offers more taste and nutrition, without concerns about putting it into the breakfast rotation. These rolls melt in my mouth, the classic flavor combo of maple, buckwheat and cinnamon mingling in every bite, with a tiny bit of crunch from the chia seeds. The tannins in the buckwheat balance the sweetness of the maple syrup deliciously. No icing, just a rich drizzle, brushed over the tops, one of the tricks I learned from Mom when baking rolls.  

This is quite honestly the cinnamon roll I’ve always wanted. Do these dare to be different, to challenge cinnamon roll tradition? Well, yes. But they are delectable. My only regret is that they don’t pop out of a tube. 

Every Day Buckwheat Cinnamon Rolls

Fluffy whole grain roll dough swirled with maple, cinnamon and walnuts.
Prep Time3 hours 30 minutes
Cook Time1 hour 19 minutes
Total Time4 hours 49 minutes
Course: Breakfast
Cuisine: American
Keyword: Buckwheat, Cinnamon Roll
Servings: 18 rolls

Ingredients

Dough

  • 1 cup water
  • 2 tbsp. chia seeds
  • 2 1/4 tsp. instant yeast
  • 1 1/2 cups white whole wheat flour whole wheat pastry flour is desireable.
  • 1 cup buckwheat flour
  • 1 1/4 cups un-cleached all-purpose flour
  • 1 1/2 tsp. cinnamon
  • 1 tsp. salt
  • 1/2 tsp. grated orange zest
  • 1 lge. egg
  • 1/4 cup real maple syrup
  • 1 1/2 tsp. vanilla extract
  • 1/2 cup whole milk yogurt not Greek yogurt
  • 1/4 cup neutral vegetable oil I use avacado oil

Filling

  • 1/4 cup butter softened
  • 1/4 cup brown sugar
  • 1 tsp. cinnamon
  • 1/2 cup walnuts finely chopped

Glaze

  • 1 tbsp. milk
  • 2 tsp. butter
  • 2 tsp. real maple syrup

Instructions

  • Stir the chia seeds into the water and set aside to soften. 
  • In large stand mixer bowl, combine the instant yeast with the flours, then stir in the cinnamon, salt and orange zest. 
  • To the dry ingredients add the chia seed gel, egg, maple syrup, vanilla extract, yogurt and oil. Using the paddle attachment, mix thoroughly on low speed. The dough will be soft. Scrape down the sides of the bowl and switch to the dough hook attachment. Knead the dough at medium low for three minutes. 
  • Turn out onto a lightly floured surface and knead by hand for several minutes until very smooth. Place dough in a bowl sprayed with pan spray. Spray the top of the dough to prevent drying.  Cover and set aside to rise for 1 to 1-½ hours, until dough has almost doubled in size. Rising time will vary with the temperature of the room.
  • While dough rises, combine the ¼ cup butter with brown sugar and 1 teaspoon cinnamon for the filling. 
  • When dough has risen, scoop onto lightly floured surface. Lightly deflate and let rest for 10 minutes. Preheat the oven to 375° F. and lightly grease a 9×13-inch baking pan. Roll the dough evenly into an 18”x12” rectangle. Spread with the prepared filling, to within ½-inch of the edges.  Sprinkle evenly with walnuts. Roll into a log from the long side.  Slice into 18 rolls.  Place the rolls in the prepared baking pan. Flatten slightly with fingers and cover loosely with a dry kitchen towel. Set aside to rise for 1 to 1-½ hours, until puffy and light. 
  • Bake in preheated oven for 15-20 minutes. While rolls bake, combine and heat the milk, butter and syrup, just to melt the butter. When browned and fully baked, remove the rolls and immediately brush with the glaze. Remove to cooling rack. 

Dried Pear and Hazelnut Focaccia with Balsamic Honey Drizzle

Dried Pear and Hazelnut Focaccia with Balsamic Honey Drizzle

I occasionally enter recipe contests. I know, it’s a little odd. People are inevitably taken aback by the whole idea. I have won everything from kitchen trinkets, like olive oil cruets and butter belles, to fine quality bake ware to cash prize and trip as a finalist at the National Festival of Bread. http://nationalfestivalofbreads.com I enter this one most consistently, as its focus is on bread, using whole food ingredients. It’s also held biannually, so contestants have several years to ponder the whole thing and develop recipe ideas.  

The entrants-of-recipe-contests (ERCs for short) are a fascinating bunch. I got to know a few of the other finalists when baking at the NFOB. Several were bakers like me, having just wandered in with a unique idea, which was selected for the final competition.  Others were Professional ERCs. They had been finalists in many contests, and had the whole routine down to a science. Two had even been finalists in the renowned, granddaddy contest of them all, the Pillsbury Bake-Off. One assured me that if only I was willing to modify my bread recipe to include all processed convenience items, my recipe would be a shoe-in…

Folks quite predictably ask me how I ever got started with contests. Growing up on a farm, one might expect that 4-H would be part of my experience. But no, somehow I joined the Camp Fire Girls. My mom was the group leader, though she had substantial help from another parent couple. She was the consummate artsy/crafty person, making sure that we had meaningful weekly activities at meetings, and that we earned our various patches and beads. The couple that co-led with her handled the great outdoors and camping events. My mom was good at many things, but camping was not one of them… BTW, I have followed in Mom’s footsteps on the whole camping thing. If I’m traveling somewhere, there will be a proper bed at the end of the day and a Starbuck’s within ten minutes drive. Count on it!

My favorite part of being a CFG was the annual county and state fair competitions. These were individual events, and I entered baked goods, beaded work and sewn items. With the farm long gone from our family, I now have what I call my childhood-in-a-suitcase. The case holds favorite things from my growing up on the farm, and among those things are the many ribbons and trophies won in fair competitions.  So perhaps the whole food as competition thing was hard wired into me from an early age. That’s my theory…

Today’s Dried Pear and Hazelnut Focaccia recipe is tweaked from one of my recipes awarded Honorable Mention at the NFOB. Having entered it into a contest, it’s really no longer my recipe, and the original can be found at http://nationalfestivalofbreads.com/recipes/fig-and-walnut-focaccia.

You’ll note that the original included that devious culprit, the dried fig, now avoidable since I live in fresh fig territory! Focaccia is really just a fancy pizza. The directions are quite explicit, which is required for recipe entries. Don’t let that throw you off-this one is easy to make and is quite versatile. It pairs beautifully with cheeses and fresh fruit for an appetizer or even for breakfast.  Made a bit thicker, it can be sliced horizontally for sandwiches. Do try it… just don’t enter it into a contest.

Dried Pear and Hazelnut Focaccia with Balsamic Honey Drizzle

Light, chewy Italian style flatbread, infused with the flavors of pears, hazelnuts and rosemary. Great accompaniment to cheeses and fruits, it's also good for breakfast.
Prep Time3 hours 30 minutes
Cook Time30 minutes
Total Time4 hours
Course: Appetizer, Bread, Breakfast
Cuisine: Italian
Keyword: focaccia
Servings: 8 people

Ingredients

  • 1 cup all-purpose flour
  • 1/2 tsp instant yeast
  • 3/4 cup very warm water
  • 1 1/2 tsp honey, divided
  • 3/4 cup white whole wheat flour I use sprouted whole wheat
  • 1 tbsp olive oil, divided
  • 3/4 tsp salt
  • 1/4 cup coarsely chopped hazelnuts toasted
  • 3 dried pear halves
  • coarsely ground seat salt for the top
  • 1 1/2 tsp chopped fresh rosemary
  • 2 1/2 tsp balsamic vinegar

Instructions

  • Measure all-purpose flour into an electric mixer bowl. Stir in the yeast, then add the very warm water and ½ teaspoon of the honey. Mix by hand to make a sponge. Cover bowl with plastic wrap and set aside in a warm spot to rise for 2 hours. The sponge should be doubled and bubbly.
  • Insert the bowl of sponge into the mixer. Using the paddle attachment, mix in the remaining ¾ cup whole wheat flour, 2 teaspoons of the olive oil and the salt. Mix on low-medium speed for 3-5 minutes, or until the dough climbs the paddle. Switch to the dough hook attachment and knead for 5 minutes. The dough should be very wet, but very smooth. Scrape dough out onto a floured pastry cloth or board. Round into a ball and place in a large deep bowl, which has been coated with pan spray. Spray the top of the dough lightly, then cover. Set aside to rise until doubled, about 1 hour.
  • While the dough rises, preheat the oven to 325 degrees Fahrenheit. Spread the chopped hazelnuts in a single layer on a baking sheet. Toast the nuts for 7-8 minutes or until lightly golden. (Ignore this step if nuts are pre-toasted.) Set aside to cool. Cut each pear half into 6 pieces, and place in a medium sized bowl. Drizzle 2 teaspoons of the balsamic vinegar over the pears, then barely cover with hot water to soften the fruit.
  • Insert a baking rack into the lower third of the oven. If a baking stone is available, place it on the rack, then pre-heat the oven to 425degrees Fahrenheit. Turn the dough out and flatten slightly into a rectangle. Drain the fruit and squeeze out excess liquid. Sprinkle the cooled hazelnuts and pear pieces evenly over the dough. Fold one-third of the dough to the center, then fold the remaining third over the top to enfold all of the nuts and pears.  Transfer the dough to a square of parchment paper. (Transfer to a baking sheet if a baking stone is not available.) Press dough out toward the edges with finger tips, until the rectangle is approximately 7 inches by 5 inches. Brush dough lightly with the remaining teaspoon of olive oil. Cover lightly with a clean tea towel and set aside to rise for 30 minutes.
  • Lightly dimple the risen loaf with the knuckles of one hand. Sprinkle the top of the loaf lightly with coarse sea salt, then chopped rosemary. Combine the remaining honey and balsamic vinegar and drizzle over the surface of the loaf. Slide the loaf with parchment onto the baking stone and bake 25-30 minutes, or until evenly browned and the bottom is brown and firm. Remove to a cooling rack for 15 minutes to cool slightly. Serve while warm.         

Notes

While this dough can be made by hand, it’s a very wet dough. Adding flour to make it more handleable changes the open texture of the crumb. If made by hand, turn it out onto oiled plastic wrap for kneading and prepare to get your hands messy!

Rich Yeast Coffee Cake with Streusel

Will Pedal for Coffeecake

I spent much of my time as a farm kid cruising the country roads on my bike.

Learning to bike ride on the farm differed a bit from what I observed my peers to be doing in town. They pedaled jauntily down the thoughtfully provided sidewalks, training wheels attached to their two-wheelers. In place of training wheels, I had a dad who was of the “toss ‘em in and let ‘em sink or swim” philosophy. I’m not sure of my mom’s view on the training wheels, but what I do know is that my dad seized the moment when my mom and grandmother went off for one of their ladies’ getaway weekends.

Across our front yard was a ridge with a gradual downhill slope, ending in a row of trees at the bottom. At the top of the ridge, Daddy would prop up my brother’s hand-me-down bike, (yes, a boy’s bike) plop me on the seat, and give me a push. Adrenalin flowed as the bike careened down the slope, with me inevitably steering it into one of the trees. Plop, push, careen, crash. Repeat. Repeat until I could begin to demonstrate some wobbly balance on the bike. This activity was the focus of the weekend, as biking competence was required by the time the ladies returned from their weekend away. When Mom and Grandma got home, Daddy proudly sent me out to the road to demonstrate my hard won biking prowess. Where I shakily pedaled for a moment or two, lost my balance and fell in the ditch. Which was awash with poison ivy. Mom had a cow, rushing me into a hastily run bath to wash off the toxin. Which must have worked like a charm, as I didn’t develop any poison ivy blisters at all. Mom, on the other hand, was covered with blisters within a few hours. Daddy got the last laugh, as it appeared that I had inherited his ability to survive poison ivy exposure with none of the dire consequences.

My biking improved, which was a good thing as I enjoyed my mother’s coffeecake immensely. Every now and again in the summer, Mom would pack up a breakfast picnic of her streusel coffee cake, freshly cooked bacon, orange juice and hot coffee to be eaten at a little brook, perhaps a half mile from our farmhouse. And of course, we got there on our bikes. It was a picturesque spot in which we kids could inhale our breakfast before clambering down to the creek side to explore, leaving Mom some luxurious time for eating and contemplation.

Baking this coffeecake demanded an investment of time and effort. The recipe was based on the Rich Yeast Batter adapted from the Betty Crocker Picture Cookbook, circa 1950 . While Mom probably doctored it up with whole-wheat flour and wheat germ, what impressed me was that she had to beat the finished batter for 100 strokes prior to rising! The streusel with which she topped it provided the sweetness, as the cake itself was richly flavored with yeast and spices, but not much sugar. As so often happens with childhood favorites, this recipe set the bar for my taste in coffee cake.

While I have made a sourdough coffeecake for years, I discovered that I could bake a version of Mom’s with better flavor and nutritional balance, while cutting back on the time investment. She made the whole shebang by rising early in the morning, but my lazy self played with making the batter the night before and baking it in the morning, which worked just fine. No need to lose sleep over rising yeast batter! In characteristic fashion, I changed a few other things, too… like substituting oil for shortening, changing up the flour mix, increasing the spices, adding vanilla, substituting dates for sugar in the streusel…you know, just a few alterations. Amazingly after all that, it tastes just like I remember on the creek side.

Should you make it, you have permission to just eat it at home, no bike ride required.

Rich Yeast Coffee Cake with Streusel

Prep Time30 minutes
Cook Time25 minutes
Total Time55 minutes
Course: Breakfast
Servings: 12 servings
Author: Mary Kay Allen

Ingredients

  • 1-½ cups flour (I used a mix of sprouted wheat spelt, and whole-wheat pastry
  • flour; a blend of white whole wheat and all-purpose would work well)
  • ¼ cup ground flaxseeds/flax meal
  • ¼ cup almond flour
  • ½ teaspoon cinnamon
  • ½ teaspoon salt
  • 2-¼ teaspoons instant yeast
  • 2/3- cup almond or other alt milk
  • ¼ cup brown sugar
  • 1 large egg
  • ¼ cup vegetable oil I use avocado
  • ½ teaspoon vanilla
  • Streusel
  • ¼ cup almond flour
  • ¼ cup flour
  • 1- tablespoon brown sugar
  • 1- teaspoon cinnamon
  • 3 tablespoons butter cut into bits
  • 3 large Medjool dates pitted and chopped
  • 1 to 2 teaspoons water

Instructions

  • The night before, combine the flour, flax meal, almond flour, cinnamon, salt and yeast. Stir to mix well. In a second bowl beat together the almond milk, brown sugar, egg, oil and vanilla, until completely blended. Beat 100 strokes, until the batter smooths out. Cover and let rise for 1 hour. Prepare a 9-inch square baking pan by greasing or spraying thoroughly with cooking spray. At the end of the hour, stir the batter lightly and spread evenly in the baking pan. Cover with saran and refrigerate overnight.
  • In the morning, remove the batter from the refrigerator and allow sitting at room temperature for about 45 minutes. In the meantime, preheat the oven to 350° F. and prepare the streusel. In the work bowl of a food processor, combine the almond flour, flour, brown sugar and cinnamon. Add the butter bits and chopped dates. Pulse to combine, until flaky. Add the water one teaspoon at a time, pulsing after each addition, until the streusel is moist and crumbly.
  • Sprinkle the streusel evenly over the batter and bake for 25-30 minutes. Remove and cool slightly before slicing.

Panettone Morning Buns


So… I was a bread baker wannabe born to a couple of hot roll mix mavens. My grandmother’s delicious “homemade” raisin bread was actually hot roll mix with added sugar and raisins, while my Mom’s “Super Sandwich Bread” was hot roll mix with raisins, grated carrots, sunflower seeds, sharp cheddar and bacon bits. The two of them certainly kept their semi-homemade recipes true to form-Grandma’s was simple sweetness and Mom’s was, in comparison, a health bomb. Not my personal favorite health bomb…

We had a few family recipes passed down from prior generations, but none of them were really bread, even for the holidays. Mom did bake a treasured almond roll for breakfast, which is still our tradition, but it was adapted from a then recent recipe called Starlight Sugar Crisps, still available on many sites online. (https://www.justapinch.com/recipes/dessert/cookies/starlight-sugar-crisps.html ) But I longed for beautiful coffee rings, savarins, braided and swirled breads. I saw it as my job to pick up the cultural bread slack around the place. Armed with my treasured bread book, I made my best attempts at baking complex ethnic breads. Mind you, I had no connection to these ethnicities, no passing-the-skills-down from generation to generation. My family is primarily English and Irish, with a bit of German thrown in (or so I’ve been told), but my ancestors came eons ago, apparently without any prized European bread recipes in hand. Also, what I didn’t know at the time was that my beloved bread book (yes, I still have it!) was written for Americans. Easier methods, more of an American product.

After leaving the farm, I seldom made bread. Busy with college, first jobs, grad school and then my own family, bread was an afterthought. We purchased it at the grocery store like all sensible Americans. A massive metamorphosis occurred when my husband, our two young children, and I took a trip to Italy, where my husband had spent his early childhood years. While commercially produced bread had stolen the market there as well, a small artisan bread movement was underway and I discovered seriously good bread. The kind that one really should be eating if one is eating bread. The kind that takes at least 24 hours from start to finish, using pre-ferments or natural yeast leavens. The kind of bread with a soft but chewy interior laced with holes, all concealed inside a heavenly crisp crust. I overdosed on this stuff for almost three weeks, wondering how I would ever learn to make it at home. Because there was no question, if I couldn’t buy it, I would have to learn to make it. I was not going to waste my calories on lousy factory made bread for even one more day.

Which was not true, of course, because first I had to locate a book that actually took the place of an Italian grandmother. I found such books while still in Italy! Written in Italian… have I mentioned that I don’t read Italian? A bit of research on my part yielded Carol Field’s amazing book, The Italian Baker. (https://www.amazon.com/Italian-Baker-Revised-Countryside-Its…/dp/1607741067)  In English. Mercifully, Carol had completed my journey by spending time in bakeries across Italy, along the way writing a beautiful book, which replaced the Italian grandmother. Country loaves, ciabatta, focaccia, sweet rolls-I learned to make them all. Then, within a few years, the artisan bread movement had arrived in the states, and I could buy such bread locally. But I continued to bake it for special occasions.

These days, being retired, I make the great majority of the bread we consume at about half the cost of the artisanal loaf. I’m mighty glad that artisanal loaf is available though, because every now and again I just want to go out and buy it.

I don’t mess around with my daily bread recipe too much. Sourdough spelt whole wheat. But I am now the proud owner of multiple bread books by well established artisan bakers, and have learned a great deal about the science of bread making. When I play with bread recipes, it may take several attempts, but I know which ingredients to put where for my desired result. I thoroughly enjoy developing my own recipes from classic dough templates. Today’s morning bun is a cross between an English hot cross bun and a Roman bun. Typically eaten around the Lenten/Easter season, the English filled them with raisins and the Romans stuffed them with whipped cream. My version takes a U-turn to intersect with the delectable flavors of panettone, yet another Italian bread. My signature almond paste, fiori di sicilia (orange and vanilla flavoring) and yes, brandy to take it over the top. This is a rich roll, not as sweet as most morning buns, but definitely one of my favorites. You won’t find it, even in a European kitchen, but you can make it in your own!

About the hot roll mix…

When Mom moved into a retirement residence, she no longer had the equipment or ability to bake. But she still liked to eat. And yes, she still loved Super Sandwich Bread. Lucky for me the store still carried that cardboard box of premixed roll ingredients!

Panettone Morning Buns

Prep Time2 hours 30 minutes
Cook Time30 minutes
Total Time3 hours
Course: Bread
Servings: 1 dozen
Author: Mary Kay Allen

Ingredients

  • Sponge:
  • ½ cup warm water
  • 1 envelope 2 ¼ teaspoons instant yeast
  • 2-½ tablespoons sugar
  • 2 eggs plus 1 egg yolk
  • 1 ¼ cups sprouted whole wheat or white whole-wheat flour
  • Dough:
  • 2 ounces almond paste
  • 2 tablespoons brandy
  • ¾ teaspoon fiori de sicilia or ½ teaspoon vanilla plus 1-teaspoon orange zest
  • 1 cup all purpose flour
  • ¼ cup plus 2 tablespoons almond flour
  • ½ teaspoon salt
  • 1/3 cup butter softened and cut into bits
  • 2 tablespoons finely diced candied orange peel
  • ¼ cup tart dried cherries diced
  • 2 tablespoons sugar
  • ¼ cup lightly chopped pine nuts

Instructions

  • Mix all sponge ingredients together thoroughly in large mixer bowl. Cover and let rest for 45 minutes.
  • To the sponge, add the almond paste, brandy, extract, flours and salt. Beat together thoroughly, then add the butter and blend until smooth dough forms. Stir in the candied orange peel and cherries. The dough will be soft. If using a stand mixer, switch to the dough hook and scoop the dough from the bowl edges into the center of the bowl. Knead for 3 minutes. Alternately, scoop the dough out of the bowl onto a lightly floured surface and roll to coat lightly with flour. Knead until dough is smooth. Place in a bowl lightly sprayed with cooking spray, then spray the top of the dough to prevent drying out. Cover and let rise until puffy, 1 to 1 ½ hours.
  • Turn the dough out onto lightly floured surface and pat into a ball. Divide the dough into 12 even pieces and round each into a ball. Combine the remaining sugar with pine nuts. Dip the top of each bun into the nut and sugar mixture. Place on baking sheet either lightly greased or covered with parchment. Cover loosely and allow to rise until puffy, around 1 hour. Preheat oven to 350 degrees F.
  • Bake the buns for 25 to 30 minutes, until lightly browned. Remove to cooling rack.


Grandma’s Oatmeal Bread


At some early point in my baking history, I asked my mom if we could bake bread. Not quick bread mind you, yeast bread. Recall, bread on the farm meant whole-wheat from the stone-grinding mill, baked by the local bakery. Quaint establishments in today’s culture.

I assumed that my mother would know how to bake bread. She knew how to produce all goods from the kitchen, didn’t she? Well, she not only didn’t know how to make bread, the very thought caused her to quake in her house slippers. “B-b-bread? But that uses YEAST!” I was undeterred, and luckily, my grandmother provided Mom with an escape route-this quick oatmeal bread recipe, akin to an English muffin type bread. It’s humble batter bread, simply spooned into a pan, raised, and baked. I could make this independently, it made wonderful toast, and kept me happy for a minute.

Eventually I pushed Mom further, and we baked a loaf of plain white bread, a huge sacrifice for her, knowing she was missing all that whole grain nutrition. When it became obvious to her that bread was my calling in the world of home baking, she wisely bought me a breads recipe book, and pretty much just let me loose. There were successes; there were flops, but every effort taught me something I didn’t know before.

Today, I am an avid sourdough (aka levain) baker. While I’ve documented my personal difficulties with wheat, baking with natural yeast makes it possible for me to eat any kind of wheat flour I want. The long, slow fermentation with natural yeast breaks down the substances my gut finds challenging, allowing me to enjoy artisan quality breads with abandon. Any time I want! As most restaurants serve standard commercial loaves made with quick rising yeast, I have been known to tuck a few slices of well-wrapped bread into my purse when we eat out, to be snuck surreptitiously onto the bread plate…

My daily loaf now looks something like this:

and I bake this loaf several times a month. An additional version studded with dried fruit and nuts is a close friend with cheeses of all types, served for breakfast. Levain baking requires commitment. That unassuming natural yeast starter in the fridge requires weekly feeding, and ideally weekly use, because a portion of the starter must be discarded each time it is fed. Raised with the farm mentality, I can’t throw that discard away; hence we eat sourdough everything-pancakes, buckwheat cakes, biscuits, scones, etc. etc.

Having now convinced you that my mother’s instinct to avoid bread baking was valid, let’s get back to that easy oatmeal bread! I hadn’t baked it for years when I stumbled upon the recipe in my box. My grandmother was decidedly not a nutrition minded cook, or baker. She also lived on coffee, cigarettes and bedtime shots of gin, which gives you some idea of her life philosophy. So it was no surprise that this recipe needed a few tweaks to make it healthier. Some of that flour needed to be whole wheat and the sugar! Who knew one could pack that much sugar into one loaf of bread? No wonder I loved it as a kid…

If you’ve never baked bread, this is the place to start. Who knows? You too may become addicted to bread baking, or you might just have decidedly delicious toast once in a while.

Grandma's Oatmeal Bread

A simple batter bread, much like an English Muffin bread.
Prep Time3 hours
Cook Time45 minutes
Total Time3 hours 45 minutes
Course: Yeast Bread
Servings: 1 loaf

Ingredients

  • 1 cup rolled oats
  • 1 ¾ cups boiling water
  • 2 tablespoons maple syrup
  • 1 ¼ teaspoons salt
  • 2 ¼ teaspoons instant yeast
  • 1 ¼ cups white whole wheat or sprouted whole-wheat flour
  • 1 ¼ cups all-purpose flour
  • 1 tablespoon ground flax meal

Instructions

  • Mix oats, boiling water and maple syrup; set aside to cool.
  • In large bowl, mix the yeast, flours, salt and flax meal. Stir in the cooled oat mixture and stir into a stiff batter. Cover and let rise until doubled, around an hour and a half. Stir down and spoon into a greased 8 ½ x 5-inch loaf pan, spreading evenly. Pre-heat the oven to 350 degrees F. Cover pan and let rise until batter is just above the pan rim. Bake for 45 minutes, until browned and edges are pulled away from the sides of the pan.