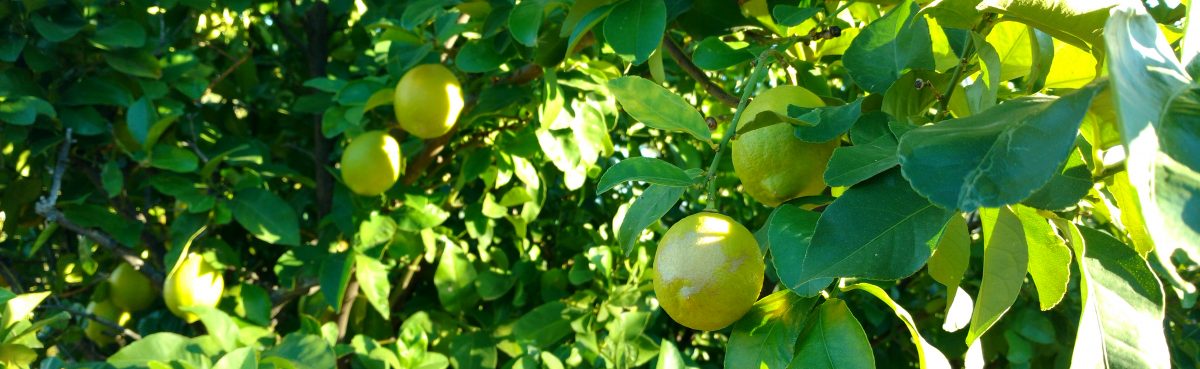
The temperature in the desert southwest has finally warmed to my expectations… just in time for a month or so of gorgeous weather before the hell season hits in June. With my cozy sweaters packed away, I’m leaning into warmer weather fare in my weekly menus. And whole grain salads like this month’s Wheat Berry Salad with Snap Peas and Chèvre are a perfect fit.
In Mom’s day the term “whole grains” basically meant whole wheat flour. She had versions of every baked item imaginable modified for baking with said flour. But she would not be familiar with the whole wheat berries, farro berries or purple barley that currently reside in my pantry. I have to admit that for quite a few years I myself found them to be a tad intimidating. They took a long time to cook. And who knew what to do with them once they were finally done? For that matter, how did one even know when they were done?
Ignorance was bliss, until small bags of these beautiful blond wheat berries began to appear in my Community Supported Agriculture share. Turns out that the Sonoran white wheat flour that I love to use in my baking came from the Sonoran white wheat berry, and evidently I was expected to eat them in that form as well.
If one listens to the holistic health types, there are good reasons to eat grains in their whole state. While both the wheat berries and whole wheat flour contain the bran, germ and endosperm, the flour has been milled into the tiniest of pieces. This allows them to oxidize and lose nutrients unless properly stored from the moment of milling. Products baked from the flour also have a higher glycemic index. It takes a very short time for digestive enzymes to break down all those tiny bits from starch to sugar and release them into one’s bloodstream. However, when the enzymes tackle the whole berries, they have to work much longer and harder to reach the starch hidden inside the bran. Resulting in a slower and more controlled blood sugar rise.
The wheat berries began to pile up in my pantry, so I cooked up a pot of them. Mind blown. Sweet and nutty golden orbs, opening between one’s teeth with a little Pop! Their chewy texture is a lovely contrast to vegetable dishes that otherwise might be too soft. I began to use them in vegetarian soups like my White Vegetable Chili, to produce the texture that meat would otherwise provide. Then I discovered the wheat berry salad, with its endless variations of flavor profiles.
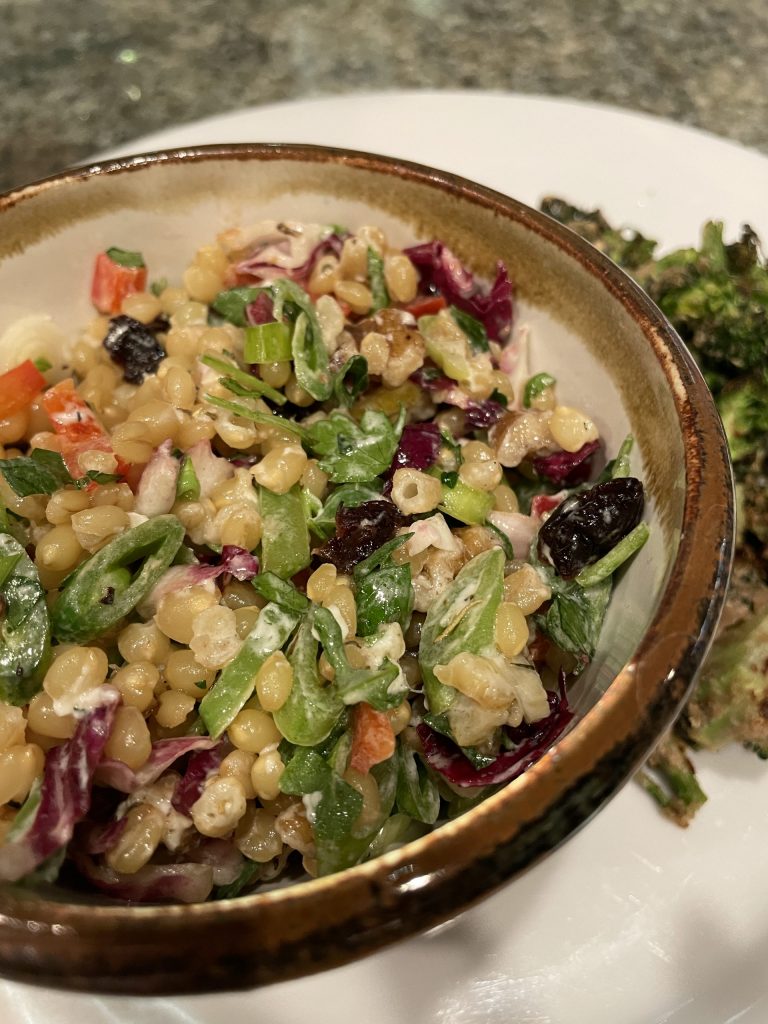
Full circle to today’s salad recipe. This salad provides a sweet, juicy and crisp pop in one’s mouth with every bite. The sweetness comes from the wheat itself, along with sugar snaps, red peppers and dried cherries. Countered by the tart and bitter components of lemon, radicchio and arugula. Accented by the depth of flavor from parsley, walnuts and chèvre. I’ll be making this one all summer. While we serve it as a main, it could easily feed more people as a side at a BBQ or summer picnic.
If I’ve convinced you that the place to start is the Sonoran white wheat berry, they are readily available for order from Hayden Flour Mills, right up the road from me in Queens Creek, Arizona. They are fine folks offering a fine set of products. However, I’d encourage you to try wheat berries in whatever variety you might have available to you. Don’t wait as long as I did.
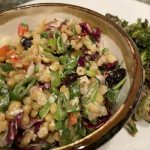
Wheat Berry Salad with Snap Peas and Chèvre
Ingredients
Salad
- 1 cup wheat berries I used Sonoran white berries
- 1/2 cup sugar snap peas, cut into thin slices on the bias
- 1 green onion, thinly sliced
- 1/2 cup chopped parsley
- 7 very thin slices lemon
- 1 tsp olive oil
- 1/2 cup chopped radicchio
- 1/2 cup chopped red bell pepper
- 1/3 cup chopped walnuts
- 1/2 cup chopped arugula
- 1/2 cup goat cheese crumbles
- 1/4 cup chopped dried cherries
Dressing
- 3 tbsp extra virgin olive oil
- 2 tbsp lemon juice
- 2 tsp honey
- 1/4 tsp Dijon mustard
- 1 tsp herbs do Provence
- 1/4 tsp salt
- 1/4 tsp freshly ground pepper
Instructions
- Cook the wheat berries as directed on the package. Drain the grains and place into a large mixing bowl; cool. Microwave the sliced sugar snap peas for 20 seconds in a smaller bowl, then stir into the cooled grains. In a small skillet, toast the nuts over medium heat til fragrant. Add to the grains. Cut the lemon slices into 6 wedges each, then saute briefly in the same skillet in the 1 teaspoon olive oil. When lightly browned, remove to the bowl of grains. Add and stir in the green onion, parsley, radicchio, bell pepper, arugula, cheese crumbles and cherries. Whisk together the dressing ingredients, then pour over and toss thoroughly. Serve at room temperature, or chill to serve cold.
Notes
- Nutrition Facts
- Total Fat: 20.4 g
- Saturated: 4 g
- Cholesterol: 7 mg
- Sodium: 212 mg
- Total Carbohydrate: 42.3
- Fiber: 8.1 g
- Sugars: 6.3 g
- Protein: 12.3 g